Step-by-Step Guide for Installing Kitchen Tile Floor Next to Hardwood
To install a kitchen tile floor next to hardwood, start by measuring your space and checking for any uneven spots. Remove old flooring and clean the subfloor thoroughly. Gather your tiles, mortar, spacers, and grout. Plan your tile layout, testing different arrangements for ideal flow. Spread the mortar and press the tiles down firmly, using spacers for even gaps. Once installed, mix and apply grout between the tiles, allowing it to cure before sealing. Finally, create a smooth changeover with a connector strip. With these steps, you’ll be on your way to a stunning kitchen upgrade! There’s even more to investigate.
Key Takeaways
- Measure kitchen dimensions and hardwood transition area to ensure proper layout and fit for the tile installation.
- Prepare the subfloor by removing old flooring and leveling any uneven spots to provide a solid base.
- Organize the tile layout, considering the hardwood’s edge and the desired aesthetic flow between the two flooring types.
- Install the tiles with thin-set mortar, using spacers for uniform gaps and regularly checking for levelness during the process.
- Finish with grouting, sealing the grout lines, and installing a T-molding or connector strip for a seamless transition between tile and hardwood.
Assessing the Area

Before you plunge into installing your new kitchen tile floor, it’s essential to assess the area thoroughly.
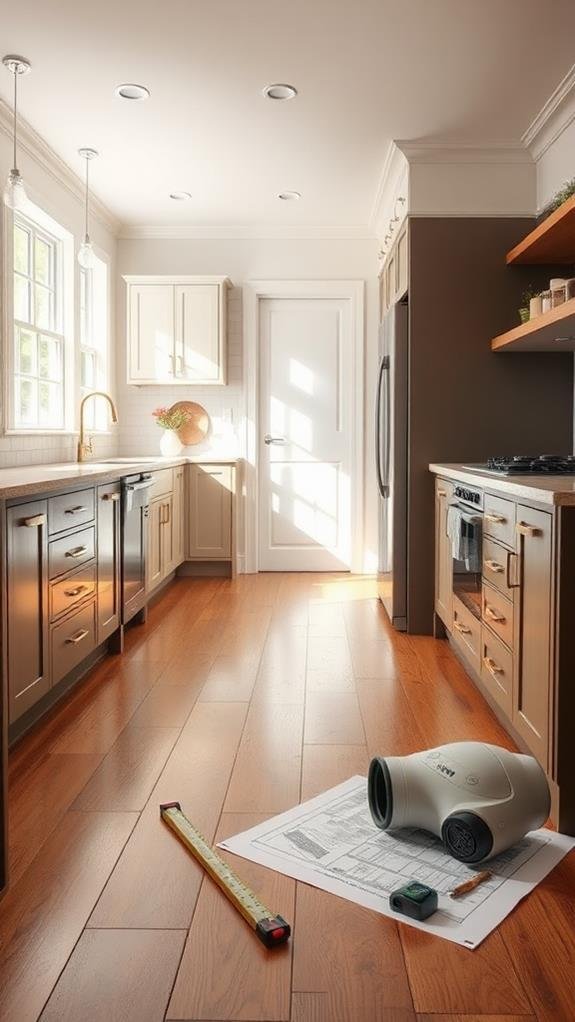
Start by measuring the dimensions of your kitchen space; you’ll need precise measurements for a successful installation. Check for any uneven spots in the floor, as these may require leveling before laying tiles.
Look for existing flooring materials that need removal, such as carpet or old vinyl, which can hinder the installation process. Also, consider the placement of appliances and cabinets—this can affect your tile layout and design.
Gathering Necessary Materials

Gathering the necessary materials is an essential step that will make your tile installation process smoother and more efficient.
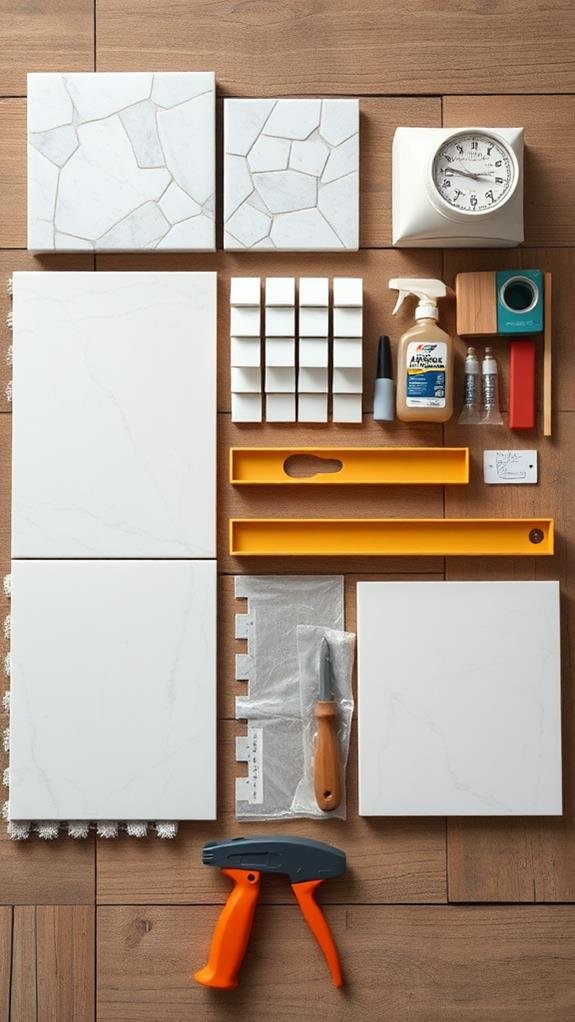
Start by collecting your chosen tiles, making sure you have enough to cover the area. You’ll also need thin-set mortar or adhesive, a trowel for application, and spacers to guarantee even gaps between tiles.
Don’t forget about grout to fill the joints once the tiles are set. A tile cutter or wet saw will help you customize tile pieces for edges.
Safety gear, like knee pads and gloves, is also important for comfort and protection.
Preparing the Subfloor

With respect to preparing the subfloor, guaranteeing a clean and level surface is vital for a successful tile installation.
Start by removing any old flooring materials, adhesive, or debris. You want a blank canvas to work with!
Next, check for any dips or high spots. If you find uneven areas, use a floor leveling compound to create a smooth surface.
Make certain the subfloor isn’t too soft or bouncy; it should be firm enough to support your tile. If you’re installing over plywood, verify it’s at least half an inch thick.
Finally, sweep and vacuum thoroughly to eliminate dust and particles.
This preparation step is significant, so don’t skip it! Your beautiful tile floor deserves a solid foundation!
Planning the Layout

With your subfloor all set, it’s time to plan the layout for your kitchen tile floor. Start by measuring the space accurately, as precise dimensions help guarantee your design fits perfectly.
Next, consider the tile size and shape you want to use; larger tiles can make a small area feel bigger, while smaller tiles might add more detail.
Lay out a few tiles on the floor to test different arrangements and see how they flow with the adjacent hardwood. Pay attention to focal points, like where the kitchen island sits, and think about the direction you want the tiles to run.
Installing Tile Flooring

To successfully install your tile flooring, you’ll want to start by mixing your thin-set mortar according to the manufacturer’s instructions.
Once your mortar’s ready, use a notched trowel to spread it evenly on a small section of the floor. Be sure to apply enough mortar for good adhesion without creating dips.
Next, press the tile firmly into the mortar, twisting slightly to create a solid bond. Remember to use spacers between tiles to keep consistent gaps for grout later.
As you work your way across the room, keep checking that your tiles are level and aligned. If you need to cut any tiles to fit, use a tile cutter for clean edges.
Enjoy the process; it’s all part of creating your beautiful kitchen!
Grouting and Sealing

After laying your tiles, grouting and sealing are the next essential steps that finalize your beautiful floor.
Start by mixing the grout according to the package instructions. Using a grout float, spread it across the tiles, pressing it into the gaps. Wipe away excess grout with a damp sponge before it dries, ensuring clean lines.
Once the grout cures, usually after 24 hours, it’s time to seal. This step’s important, as it protects your grout and tiles from moisture and stains. Apply the sealer using a small brush or applicator pad, following the manufacturer’s instructions for the best results.
Allow the sealer to dry completely before walking on your floor. Now, you’re ready to enjoy your stunning new space!
Creating a Transition

How do you smoothly connect your new tile floor to adjoining surfaces, like hardwood or carpet?
First, pick the right connector strip. A T-molding works great for connecting tile to hardwood, creating a clean edge.
Measure the area where the two flooring types meet, and cut your connector strip to fit. Then, place it over the joint, ensuring it covers both surfaces evenly.
You can either nail or glue it down, depending on the type of strip you choose.
Make sure it’s secure, but leave a little room for the floor to expand.
Finally, check that everything looks neat and level.
This step not only improves your floor’s appearance but also helps prevent damage over time.
Finishing Touches

Adding the finishing touches to your new kitchen tile floor can raise the entire space and give it a polished look.
Start by applying grout sealer to protect the grout lines and keep them looking fresh. This simple step not only improves durability but also makes cleaning easier later on.
Next, consider installing baseboards or trim around the edges to create a seamless shift between your tile and hardwood. Choose colors that complement both flooring types for a cohesive appearance.
Finally, add rugs or mats in areas that might need more comfort or style. These touches complete the look, providing both functionality and flair.
Enjoy your beautiful new floor as it transforms your kitchen into a welcoming place!
Conclusion
You’ve successfully installed your kitchen tile floor next to hardwood! By following these steps—assessing the area, preparing the subfloor, and creating a nice pathway—you’ve turned your vision into reality. Remember, attention to detail is key for a polished look. With the right materials and a bit of patience, your new floor will not only be functional but also beautiful. Enjoy your upgraded space, and don’t hesitate to show off your handiwork to friends and family!
